
Moto G 5G (2022) Screen Replacement
- Symptom
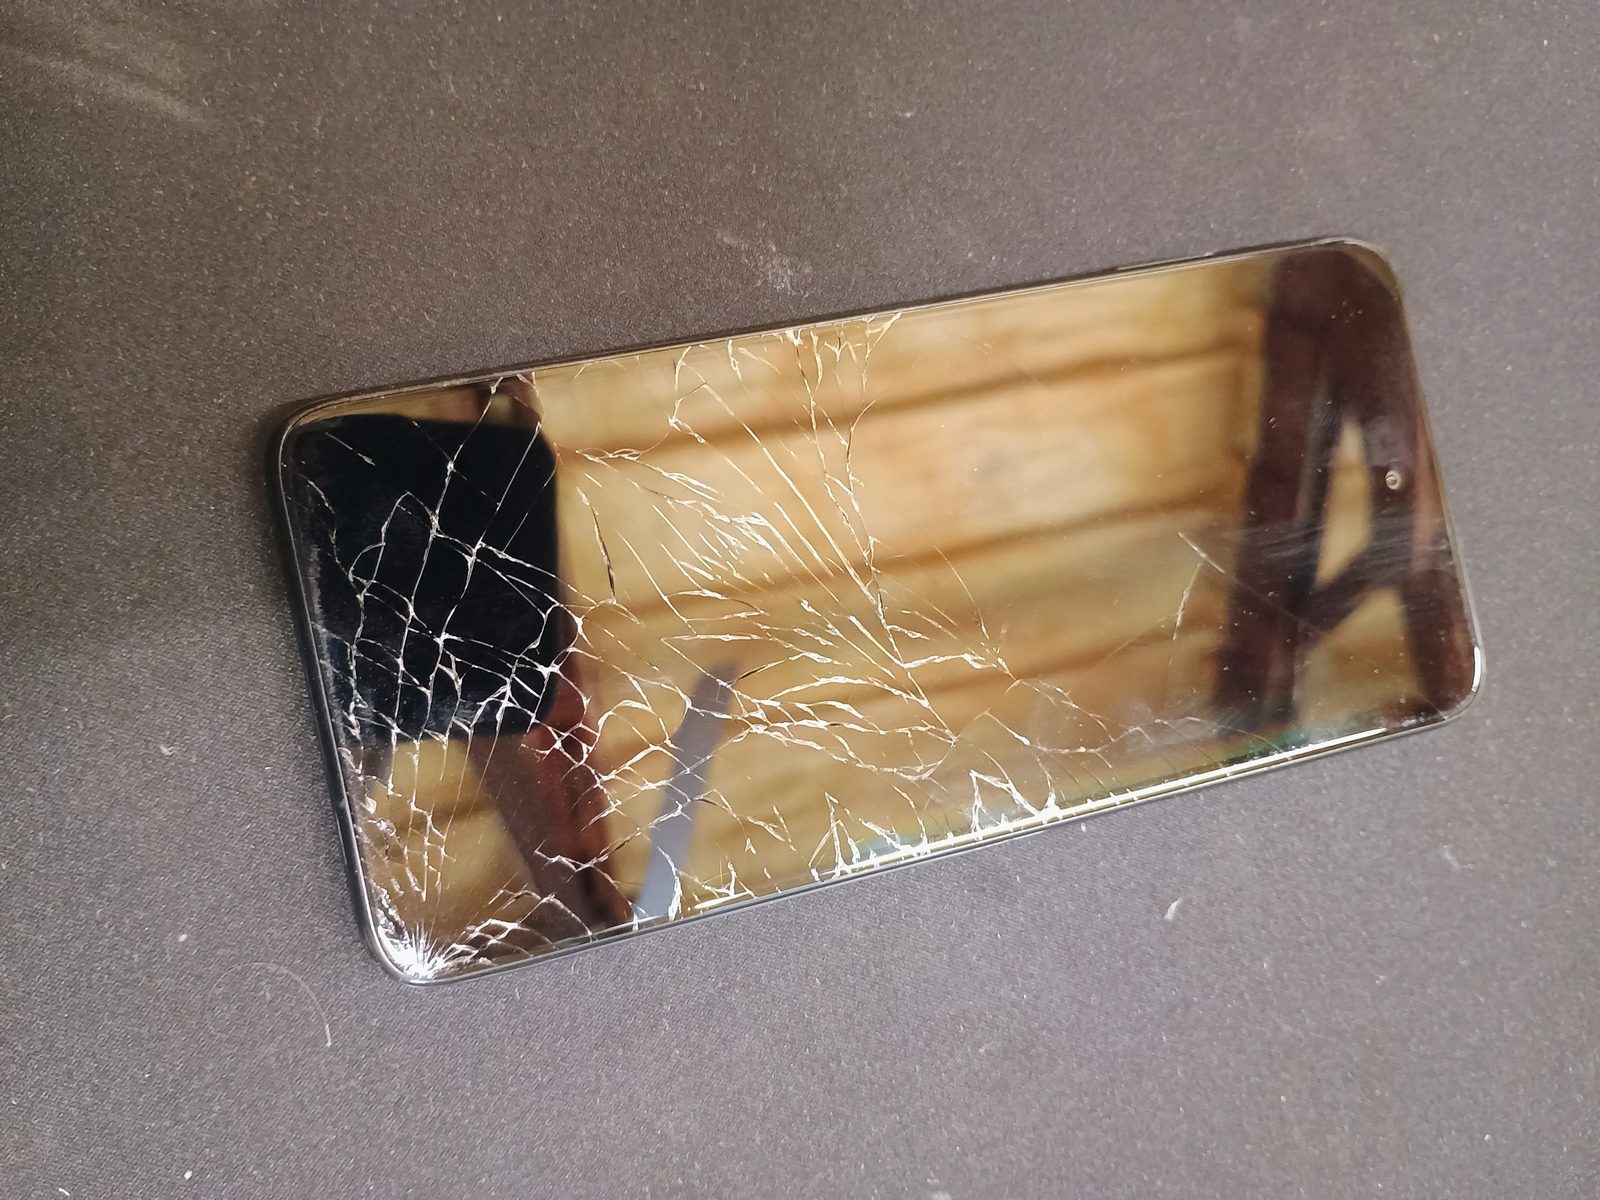
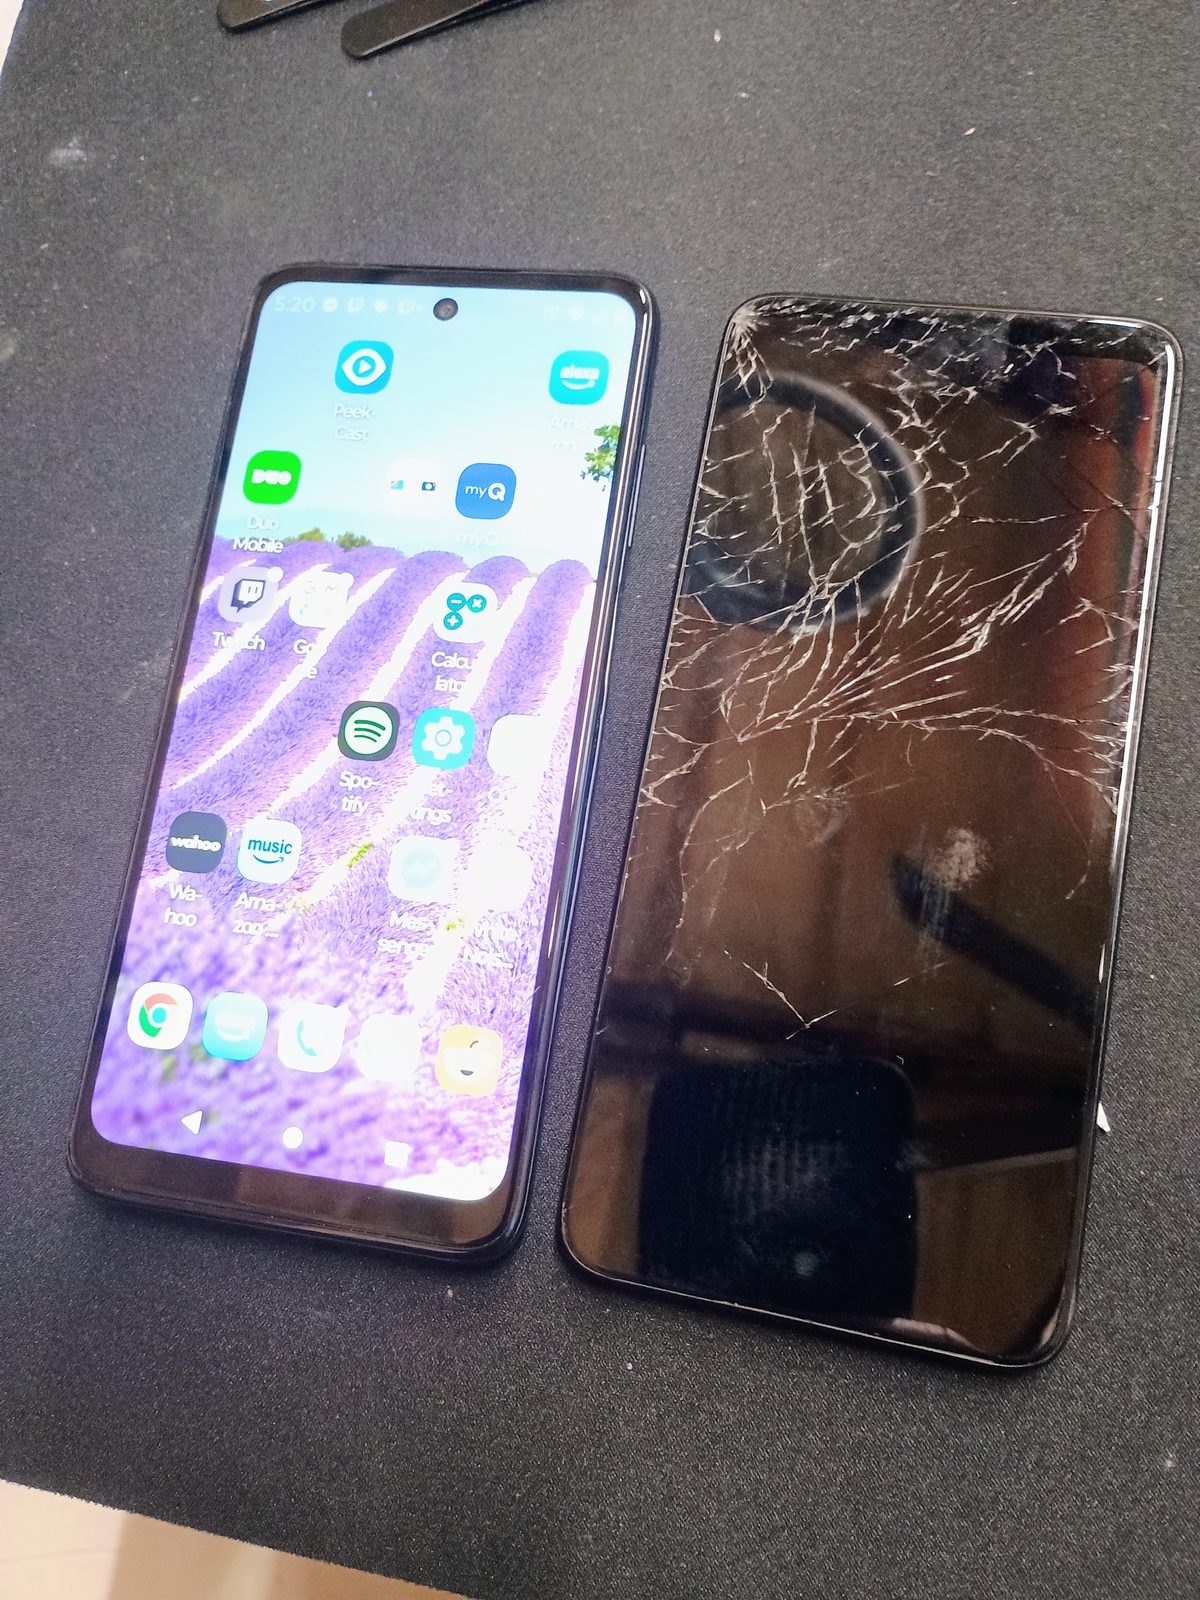
- The front display on a Moto G 5G (2022) was cracked across a wide area of its face and needed to be replaced.
- Diagnosis
- Identified as a Moto G 5G (2022), model family XT2213. On this phone, replacing a framed display means transferring most of the original phone into the new screen and frame rather than simply unplugging the old screen and plugging in another one.
- Fix
- Installed a replacement display-and-frame assembly and moved the original motherboard, cameras, battery, side-button assembly, speakers, antennas and lower board across into the new frame. The phone was reassembled and tested, and the replacement display came up normally.
A framed display replacement on this phone is more involved than it sounds. The new LCD arrives already bonded to a replacement center frame, so instead of separating and gluing in a bare panel, I transfer the working parts from the old frame into the new one.
This phone has been on my bench before. I previously replaced a swollen battery that was pushing the rear cover off the frame, and that repair is written up here. The cracked screen was an unrelated second repair, and the replacement battery from that earlier job was transferred into the new frame along with the rest of the phone.
The Long Version
Replacing the Screen Means Rebuilding the Phone
What follows is the job as it ran: how the phone opens, why the replacement part is really a new chassis, where this repair can go wrong, and what was checked before it got closed up. Skip to the result if you'd rather not read the whole thing.
Opening the Phone
This model opens from the back. After removing the SIM tray, the rear cover separates from the frame around a clipped seam.
There are a couple of things to watch immediately. The power and side-button assembly is connected by a thin flex cable, so the back can't simply be pulled away once the clips release. The battery also stays connected until the internal motherboard cover is removed.
Once I had access to the battery connector, I disconnected the battery before continuing with the rest of the disassembly.
The New Screen Is Also a New Chassis
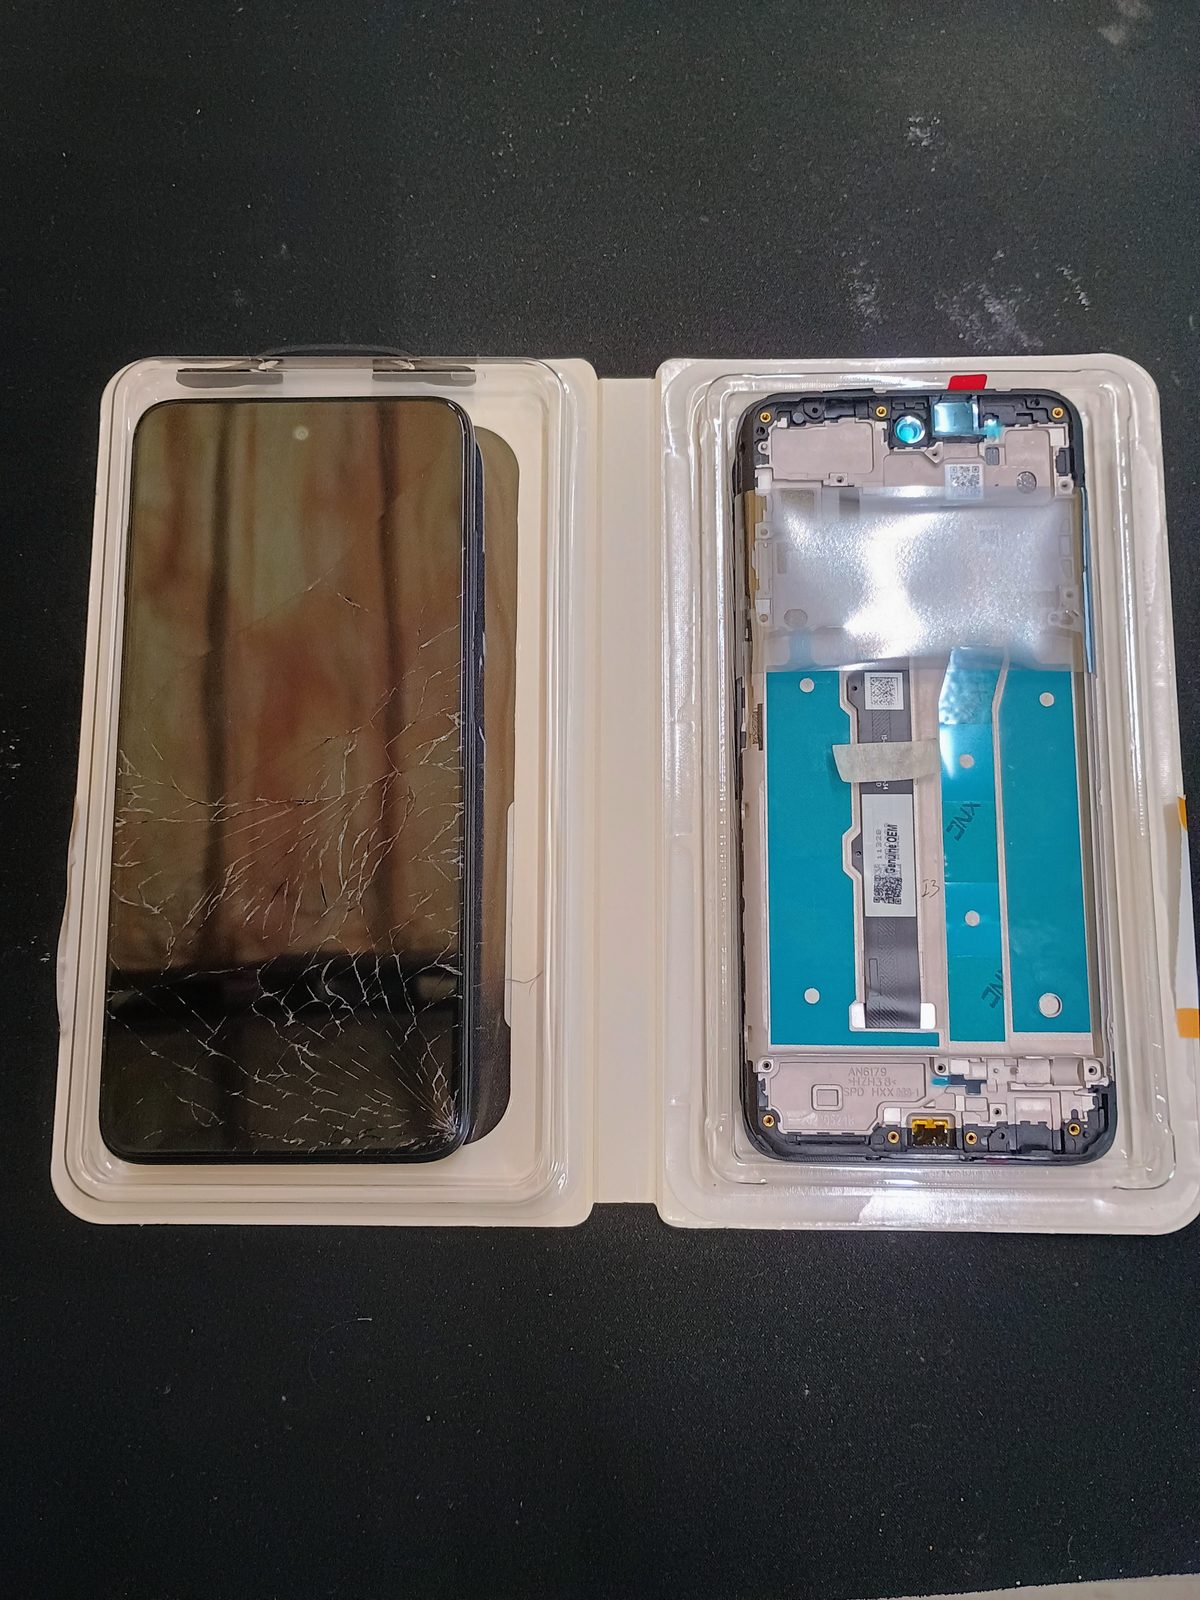
The replacement isn't just a glass or LCD panel. The display is already bonded to a new center frame.
The frame arrives mostly empty. The motherboard, cameras, battery, lower board, speakers, antennas, button flexes and smaller hardware all have to be transferred from the original phone.
Getting the Right Part for the Right Phone
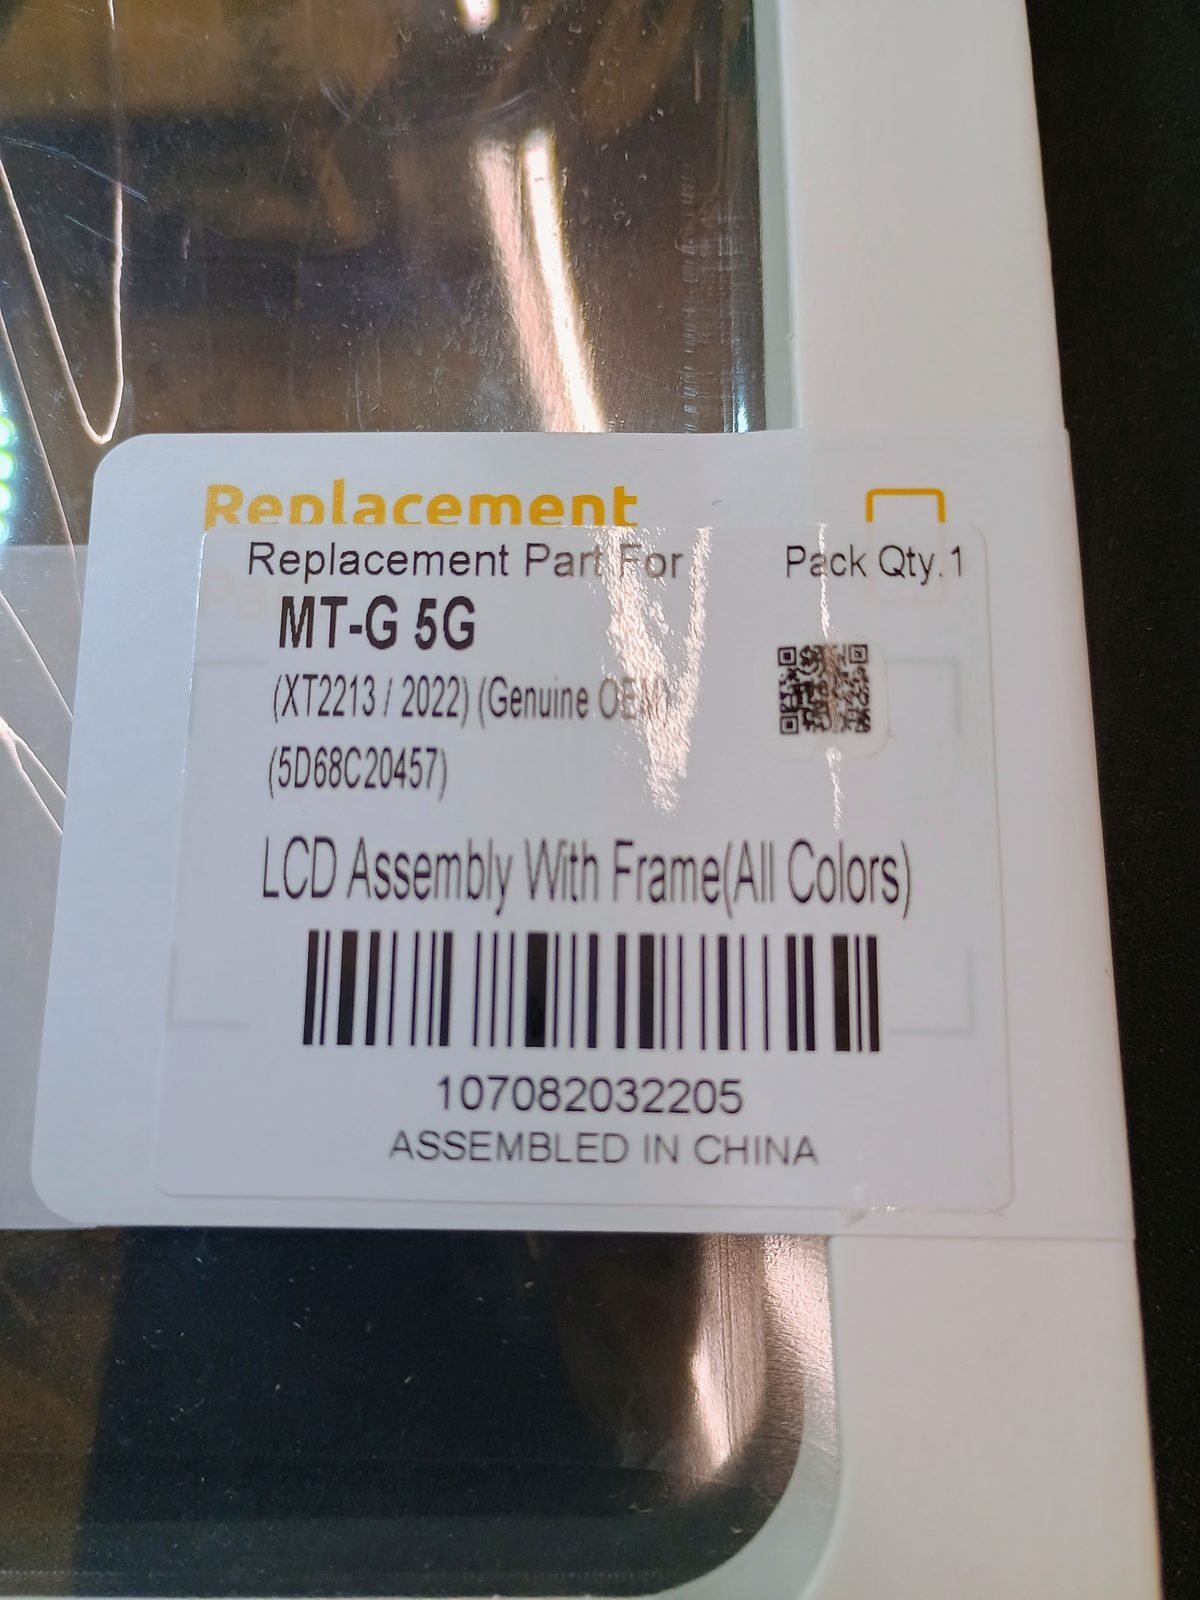
"Moto G 5G" isn't specific enough to order a screen, because Motorola has used the name across several generations. This phone is from the XT2213 family, and the MobileSentrix package identifies the replacement as MT-G 5G (XT2213 / 2022), LCD Assembly With Frame.
That second line determines how the repair is done. A framed assembly requires transferring the phone's internals. A bare display panel would instead have to be separated from the old frame and bonded into place.
Everything Comes Out
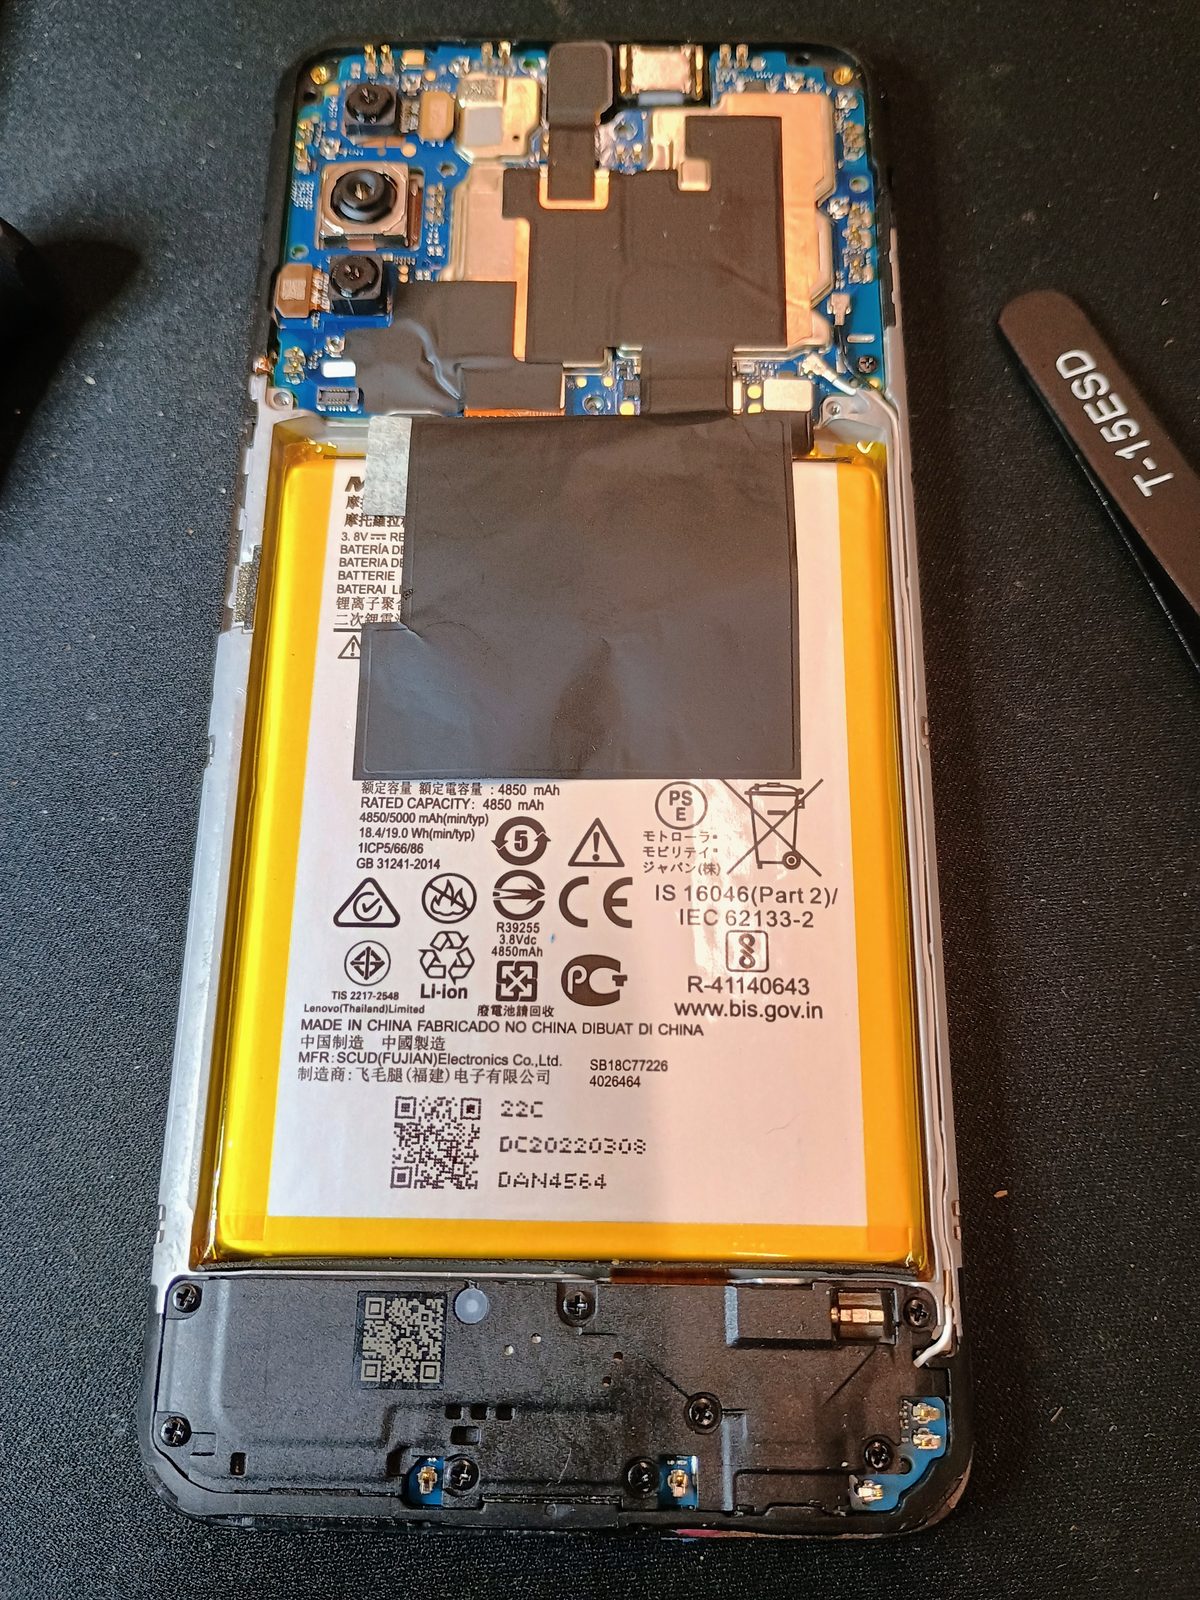
This is the part of the job where organization matters more than speed. There are small press-fit connectors, coax antenna leads, flex cables and screws that are only slightly different lengths.
I keep the parts organized as they come out and compare the old and new frames before moving on. Small brackets and adhesive-backed pieces are easy to overlook during a frame transfer.
Moving the Side Buttons
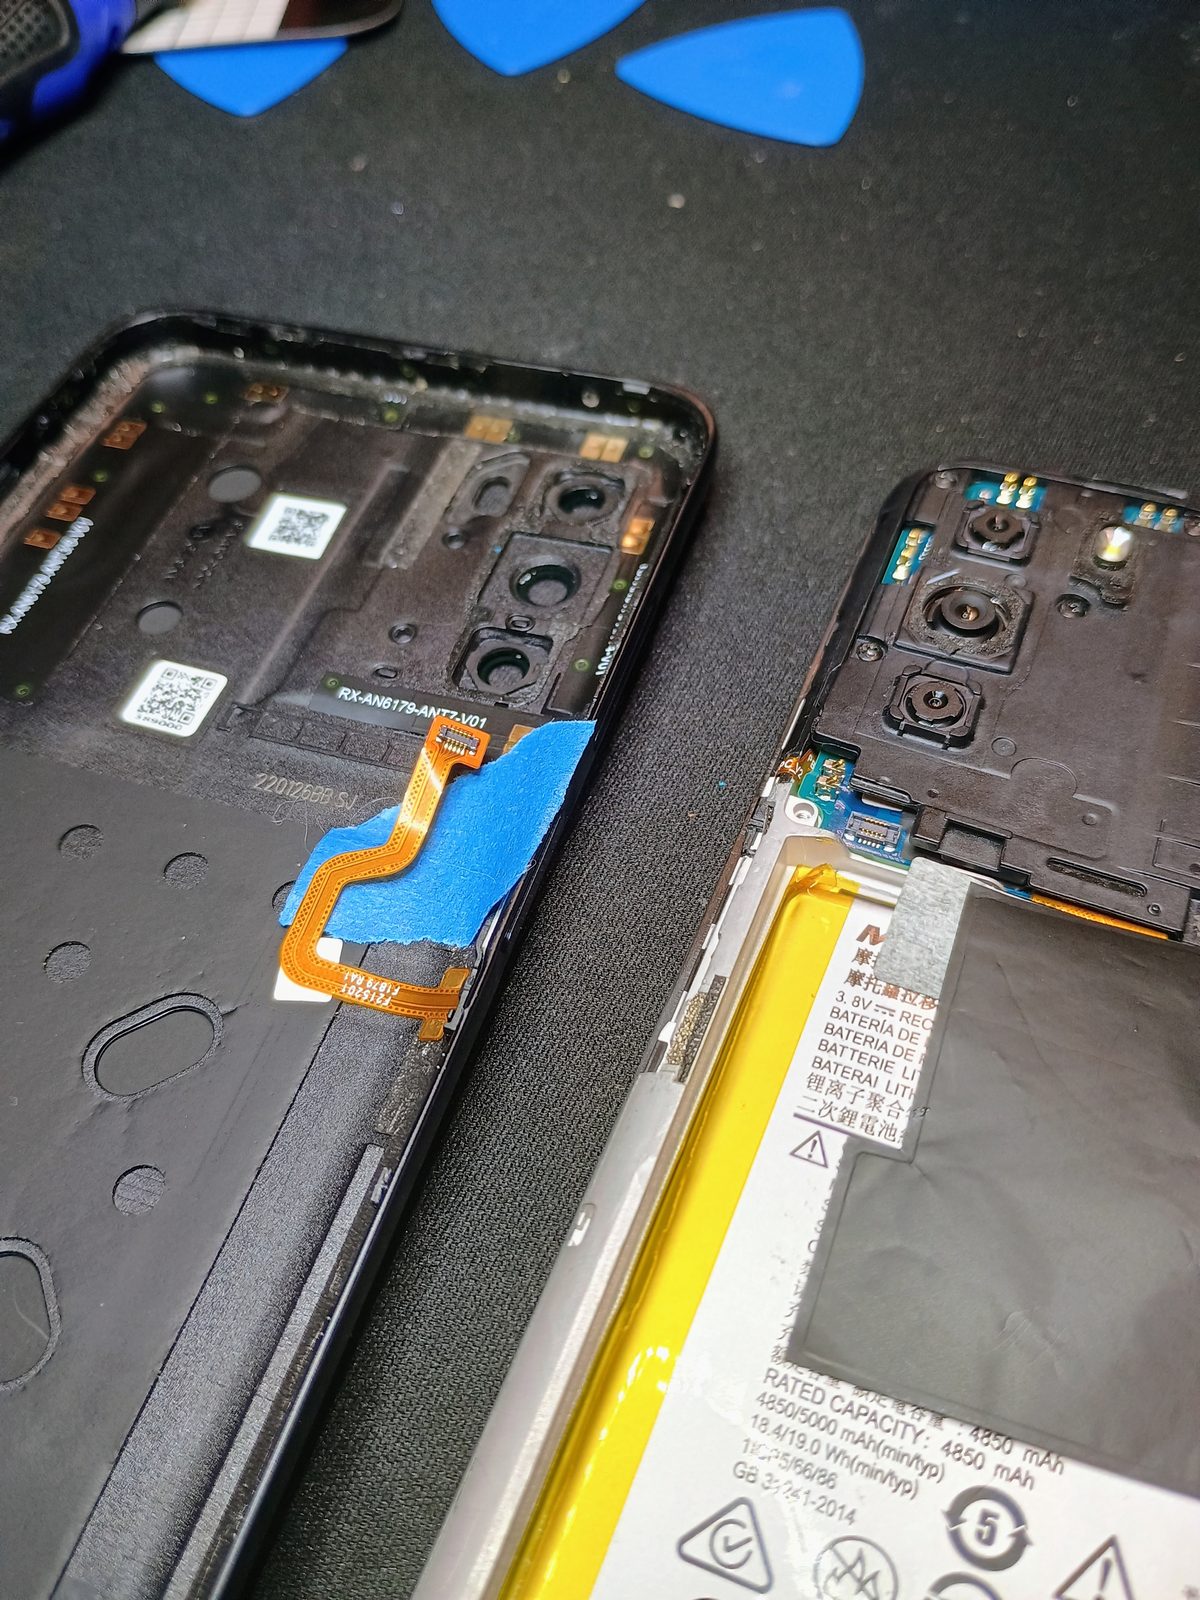
The power and volume buttons use a long, thin flex assembly running along the side of the frame. Small switch contacts on that flex have to line up with the physical buttons in the new chassis.
The thin adhesive holding the flex in position does not always survive removal. On this one I cleaned the mating surfaces with 99% isopropyl alcohol and secured the flex flat against the new frame with 1 mm electronics tape, thin enough not to change the feel of the buttons.
Rebuilding the Phone in the New Frame
With the smaller parts transferred, the motherboard goes into the upper section of the new chassis along with the camera modules and earpiece assembly.
The antenna leads are routed back along the edge of the frame and snapped vertically onto their small coax connectors. The battery and remaining flex cables can then be reconnected.
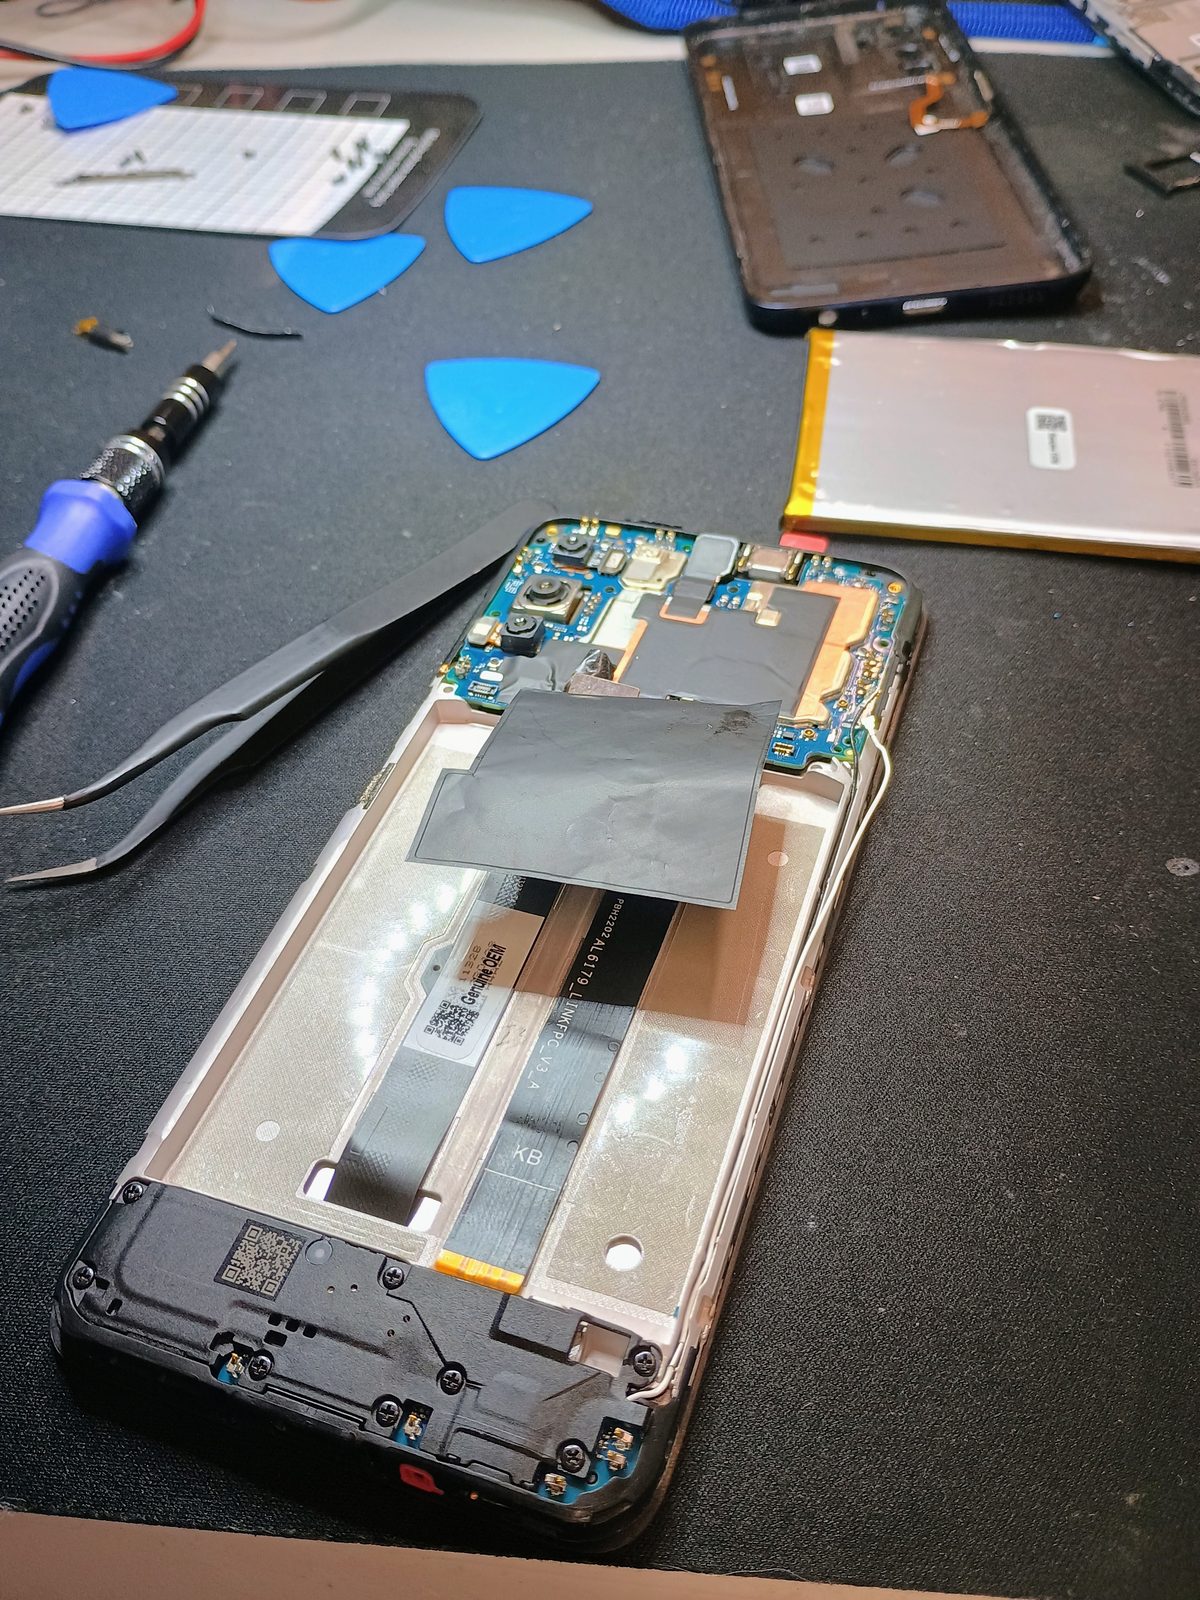
Not every screw on this phone is the same length. One screw is shorter than the others and belongs in the motherboard mounting position. Screw location is checked before the internal covers go back on.
Testing Before Closing It
Before the rear cover is fully closed, I power the phone on and check the parts affected by the repair. That includes the new display, touch response and the components disconnected or moved during the frame transfer.
The Result
The phone powered on normally and the replacement display rendered the home screen cleanly.
A broken screen didn't mean replacing the phone. The display and frame could be replaced while keeping the original motherboard, cameras, battery and other working hardware. This is also why I prefer a good framed replacement when one is available: it avoids trying to separate and rebond the LCD itself, but it still requires careful disassembly, component transfer and testing before the job is finished.
What This Job Shows
A framed display changes the repair.
On this Moto G, the screen arrives already bonded to a new center frame, so most of the phone has to be transferred into it.
Small parts and screw locations matter.
Flex cables, coax connectors, brackets and different screw lengths all have to go back into the correct positions.
Test before closing the phone.
Powering the phone on before final reassembly makes it possible to catch a display or connection problem while the internals are still accessible.
Technical Details
| Device | Motorola Moto G 5G (2022) |
| Model family | XT2213 |
| Reported symptom | Front display cracked across a wide area |
| Replacement | MobileSentrix display-and-frame assembly for XT2213 / 2022, part code 5D68C20457 |
| Repair | Original motherboard, cameras, battery, button flex, lower board, speakers, antennas and associated hardware transferred into the replacement frame |
| Verification | Phone powered on and the replacement display rendered the home screen cleanly |
| Status | Complete. Display and frame replaced, phone reassembled |
Broken Phone Screen?
Phone screens and batteries are repairable on many models, and replacing the failed part can make much more sense than replacing an otherwise good phone. Send the make and model and a description of the damage. I'll check parts availability and let you know whether the repair looks worth doing before you bring it in — parts availability for your specific model is usually what decides it. Water damage and board-level faults are looked at case by case.
See what we repair, what diagnosis and repair cost, and where we go before you book.
Not sure it's worth fixing? Tell us the make, model, and what it's doing, or call (509) 708-2953 — no charge to ask, and nothing to book. Send us the details →
That conversation can usually tell you whether a repair is worth pursuing and which diagnostic fits. A firm repair price takes having the device in hand.
Nothing is charged when you book a drop-off. The $50 diagnostic, and the pickup fee if you'd like us to collect the device and bring it back, are billed on your final invoice. No transport charge if you bring it to Leavenworth yourself.